

News

How to set up an upright bass (Double Bass)
There is absolutely nothing magical or difficult about setting up an upright. It's all very straightforward and logical, if approached with care and thought and common sense. It need not take more than a few minutes - even for those with no instrument building or adjusting experience.
Most setups basically involve simply adjusting the grooves in the nut, then adjusting, locating and positioning the bridge.
Important advice, Whatever you do, do it SLOWLY.
Below is a graphic with the Upright Bass or Double Bass part, this graphic will help you to understand the name of each part and its location.

There are three things we recommend you should have:
1. Bass stand, if you don’t have one you should invest in one. We have them at our accessories page and they are well worth the investment.
2. Bass Tuner, or some way to tune the bass to pitch.
3. You will need a lint cloth or T-Shirt, this is used to protect the top of the bass while setting up the bridge.
The Set Up
The easiest way to set up a bass is in the standing position on a stand or in the corner of one of the rooms of your home. If you don’t have a Bass Stand use the Bass Gig Bag as backdrop.
Place the lint cloth in between the tailpiece and the bass, this will keep the tailpiece from scratching the bass while you are loosening the strings. Also be sure to check the endpin at the bottom of the bass and be sure it is pushed all the way in (they are NOT glued for a reason) and the saddle (black loop cord) is securely fastened to the endpin and in the correct position.
All basses are shipped with the bridge off and generally with the strings on. You will now need to loosen each string. Each time you turn the tuning machines is about a 1/2 turn. So loosen each tuning machine 25 to 30 1/2 turns. You only need to loosen the strings up enough to flip the bridge into place.
Installing The Bridge
The Taller side of the bridge goes with the E or fattest string and the Shorter side of the bridge always goes with the G or smallest string. This obviously means the bridge can ONLY go on one way.
Remember the strings only need to be loose enough to flip the bridge into place. Be sure all the strings are in their slots at the NUT. With your left hand pull the strings out where the bridge will go and with your right-hand position the bridge behind the strings and flip it into place.
The bridge should be positioned at the CENTER point of the F HOLES, the F HOLES have a small notch at the center point.
There is room to move the bridge slightly up or down and each way will bring the strings either closer or farther from the fingerboard depending on what type of music and style you like. I wouldn’t recommend any more than a 1.5 inch variance in that position as the bridge should be as close to the internal SOUNDPOST as possible for optimum tone.
Wherever you decide to put it you should leave it as moving it months down the line will result in different intonation and the notes won’t be where you expect them and you have to get used to the scaling all over again. The idea is to find that optimum point where the strings are close to the neck but not so close that they buzz. Once you are done with that it’s time to tune the bass up so you can start playing it!!
Tuning Up The Bass
Basses are tuned to E A D G.
It’s important to remember that upright basses aren’t like electric basses so the strings on an upright won’t be near as tight as what you would expect on an electric bass. Having said that, an easy way to remember it is if you think you are tuning to high YOU PROBABLY ARE. SLOW down and take it easy, you can damage your bass seriously if you tune to high.
Important: the strings will not play if you are on the octave BELOW to the correct one, so if you are ever unsure, always go down, you can ALWAYS go back up! Some things to keep an eye on while you are tuning is to BE SURE the BRIDGE is not slanting and remains in a straight position while you tune the strings. The looser the strings are when you tune up the more likely the bridge will slant while you are tightening the strings.
Also make sure again that the ENDPIN and SADDLE are secured correctly. If you are tuning one string at a time remember that once you tune one string up and go to another the pressure will grow on the neck causing the strings to ‘detune’ so you will need to go back several times and tune each string. Within a few days the bass, neck, and strings will settle and your bass will stay in tune with only minor adjustments to it.
What if the soundpost becomes dislodged?
We are often asked, “what is that wood dowel floating around in my bass?”
That’s what we call the soundpost and it is NOT supposed to be rolling around. Without the soundpost in place your bass is vulnerable to damage and the soundpost is key to the deep resonating tone of the bass.
It is not uncommon for a soundpost to dislodge during transit of the bass. The soundpost is NOT glued in place and simply is lodged into place underneath the bridge going from the front to the back of the bass. The soundpost also has slanted ends to help it lodge into place.
Putting a soundpost back into place can be an easy 10 minute job IF and I say IF you have the right tool. If you don’t have the right tool you should ask your local music shop for help, it should cost no more than $20.00.
Saxophone Reeds Selection Guide
A Saxophone reed is a thin strip of material that vibrates to produce a sound on a Saxophone. Most woodwind instrument reeds are made from Arundo donax ("Giant cane") or synthetic material.

How a Saxophone Reed Works?
All types of saxophones produce sound energy in the same way. The saxophonist blows air through the mouthpiece, causing the reed to vibrate rapidly against the mouthpiece. The air then moves through the saxophone, amplifying the sound until it escapes through the open tone holes.
The reed, in cooperation with the resonances in the air in the instrument, produces an oscillating component of both flow and pressure. Once the air in the saxophone is vibrating, some of the energy is radiated as sound out of the bell and any open holes.
What strength of Reed should I use?
Reeds vary in strength in half measures, the sizes start at 1 ½, 2, 2 ½ , 3, 3 ½, etc. The number refers to how thick the reed is. A thicker reed is more difficult to play but thicker reeds do offer a much better tone production and thus improve the sound of an instrument.
Higher numbers indicate a stiffer reed. The more experienced musicians can provide the breath support and embouchure strength needed to play the strongest reeds, which produce the much-desired dark tone. When a reed is too soft, it sounds too bright and the upper register may be flat.
What is the difference between filled and unfilled reeds?
Filled or French Filed Cut reeds have an extra strip of cane removed in a straight line just below the vamp allowing for more flexibility and a faster response time.
Generally, players who use moderately resistant and darker sounding mouthpieces such as a rubber Ottolink prefer filed reeds. The file allows these resistant mouthpieces to blow more freely and produce a brighter tone.
Players who use easy-blowing and moderate to bright mouthpieces such as a metal Selmer prefer unfilled reeds. Unfilled reeds give the player a darker tone and more resistance.
Saxophone Reeds Selection Chart and Sizes:

Ernie Ball 101: Electric Strings
Welcome to Ernie Ball 101! Where we're breaking down everything you need to know about our world class strings and accessories.
Ernie Ball is the world's leading manufacturer of premium electric, acoustic, and classical guitar strings, bass strings, mandolin, banjo, pedal steel strings and guitar accessories. Our strings have been played on many of the best-selling albums of all time and are used by some of history’s greatest musicians including Paul McCartney, Eric Clapton, Jimmy Page, Slash, The Rolling Stones, Angus Young, Eagles, Jeff Beck, Pete Townshend, Aerosmith, Metallica, and more.
Ernie Ball electric guitar strings allow any musician to get the perfect tonal quality and sound they are looking for. World-class musicians including Eric Clapton, Paul McCartney, Slash, Metallica, and John Mayer trust Ernie Ball electric guitar strings to produce their own unique sounds.
Mallet Selection Guide
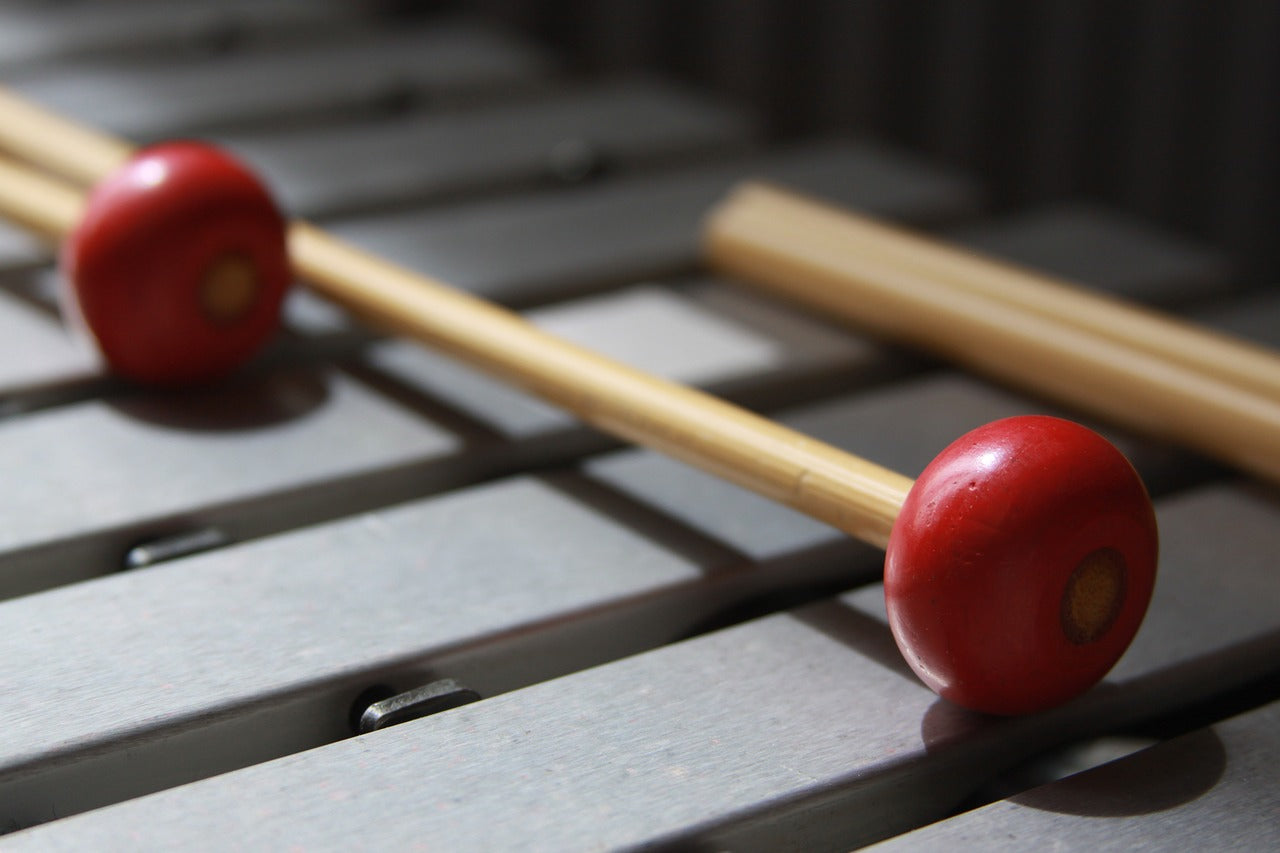
A percussion mallet or beater is an object used to strike or beat a percussion instrument in order to produce its sound.
Percussion mallets have an unmatched combination of core, wrap and shaft material that can accompany any type of music you compose. They’re used on four main instruments: the marimba, vibraphone, xylophone, and glockenspiel/bells. Mallets are traditionally assembled the same across the industry, beginning with the assembly of a core made from various sizes, shapes and materials, then to a shaft made of rattan or birch. This assembly is either wrapped or unwrapped, depending on the intended instrument.
Most mallets today are produced in a line, or series, of different hardness. As expected, soft mallets generally sound best in the lower range of the instrument and do not speak well in the upper register. Naturally, the opposite is true for harder mallets. We always recommend beginners start with a hard mallet, and then move up to a medium-hard, followed by a medium-soft. Try to avoid extremes, like very soft or two-toned, until you’re equipped with a comfortable selection of medium, general-purpose mallets.
Typically, there are four core shapes available:

Each shape has a wide variety of sizes and types of material that contribute to the overall sound of the mallet. Synthetic rubber is the most common core material for marimba and vibraphone mallets. Hard plastic with a latex covering is also popular.
There are basically only three different shaft materials within the assembly of keyboard mallets:
BIRCH: The most rigid natural shaft material
RATTAN: A natural material with a bit more flexibility than birch
FIBERGLASS: A synthetic shaft material with the least rigidity
Generally, we separate the wrap options for mallets by yarn, which is often found on marimba and speak best on wood keys, and cord, which are often found on vibraphone mallets and speak best on metal keys. By adjusting the tension, wrap layers, and wrap angles of your mallet, there are infinite opportunities to nuance your sound.
WHICH MALLETS SHOULD YOU BUY?
Use the table bellow to select the correct mallet for your Desired Articulation:

How to Choose the Right Violin Size
Please follow these steps to find the correct size you need for your new violin.

Step 1: You need to measure your arm:
Have the student put his left arm out to the side, as straight as possible. Measure only the left arm unless a teacher has said otherwise. Take the measurement from the bottom of the neck straight out to the palm of the hand. End the measurement in the center of the palm. Round the measurement up to the nearest half-inch.
Please note that even left-handed players play a regular, right-handed violin. Lefties need not worry they can't play the violin! Many lefties play the same as everyone else.

Step 2: Choose the size of your violin:
• 1/16 Violin for 3 to 5 years old with Arm Length of 14 to 15 3/8 inches
• 1/10 Violin for 3 to 5 years old with Arm Length of 15 3/8 to 17 inches
• 1/8 Violin for 3 to 5 years old with Arm Length of 17.1 to 17.5 inches
• 1/4 Violin for 4 to 7 years old with Arm Length of 17.6 to 20 inches
• 1/2 Violin for 6 to 10 years old with Arm Length of 20 to 22 inches
• 3/4 Violin for 9 to 11 years old with Arm Length of 22 to 23.5 inches
• 4/4 Violin for 12 years old to Adults with Arm Length of 23.5 inches and up
Full size is the Adult Size.

What to do If your child is growing too fast and is too big for the violin you purchased last year.
Should you buy a bigger violin instead? Would fit now but may be too small in 6 months? Or should you skip to the biggest violin and let him grow into it?
This is a frequently dilemma. Choosing to use a larger violin can be a wise choice if the student is growing rapidly and if you are paying a bit more to have a better quality Violin. Rather than buying two cheaper violins one after another, a bigger and better quality violin would last longer, thus it would make sense to invest a bit more money into the next bigger size than buying a small lower quality violin. The important thing here is that the student is able to or very close to playing the 4th finger. If they can reach this 4th fingering the violin will be usable.
For children skipping a size and playing a slightly larger violin you should consider buying a lighter weight violin over a heavy one. Heavy or bulkier violins are harder to play causing the student to avoid practice.
Another suggestion here is to use a Shoulder Rest to aid in holding the violin and providing support.